I've never tried gel nail polishes before, so this system was completely new to me, but I've heard great things from friends who've had a gel manicure at the salon. The most appealing factor, a manicure for up to 2 weeks with no chips. As my manicures have never really stayed chip free for more than 3 days max I've been very eager to try this out for myself. Needless to say I'm not a fan of having my nails done at the salon, I'm very fussy about buffing, and every time I've had a "pro" manicure, I've left with bleeding cuticles, not a good look!
Up until now Gel Manicure systems were a little out of my price range, with UV lights costing £100 and up, and also the curing time of 3 minutes a coat, was a slight put off. So I was most intrigued when I came across the Red Carpet Manicure System, an "at home" gel nail polish system that promised the same results you can expect from a salon manicure, only with a new LED UV light that promised to cure each layer in just 45 seconds :O
This did sound a little too good to be true, so I searched the internet for reviews, and I was pleased to find mostly positive reviews stating the system did all it claimed, and although it would need a lot of practice to get the right technique, it was completely feasible to create an "at home" gel manicure.
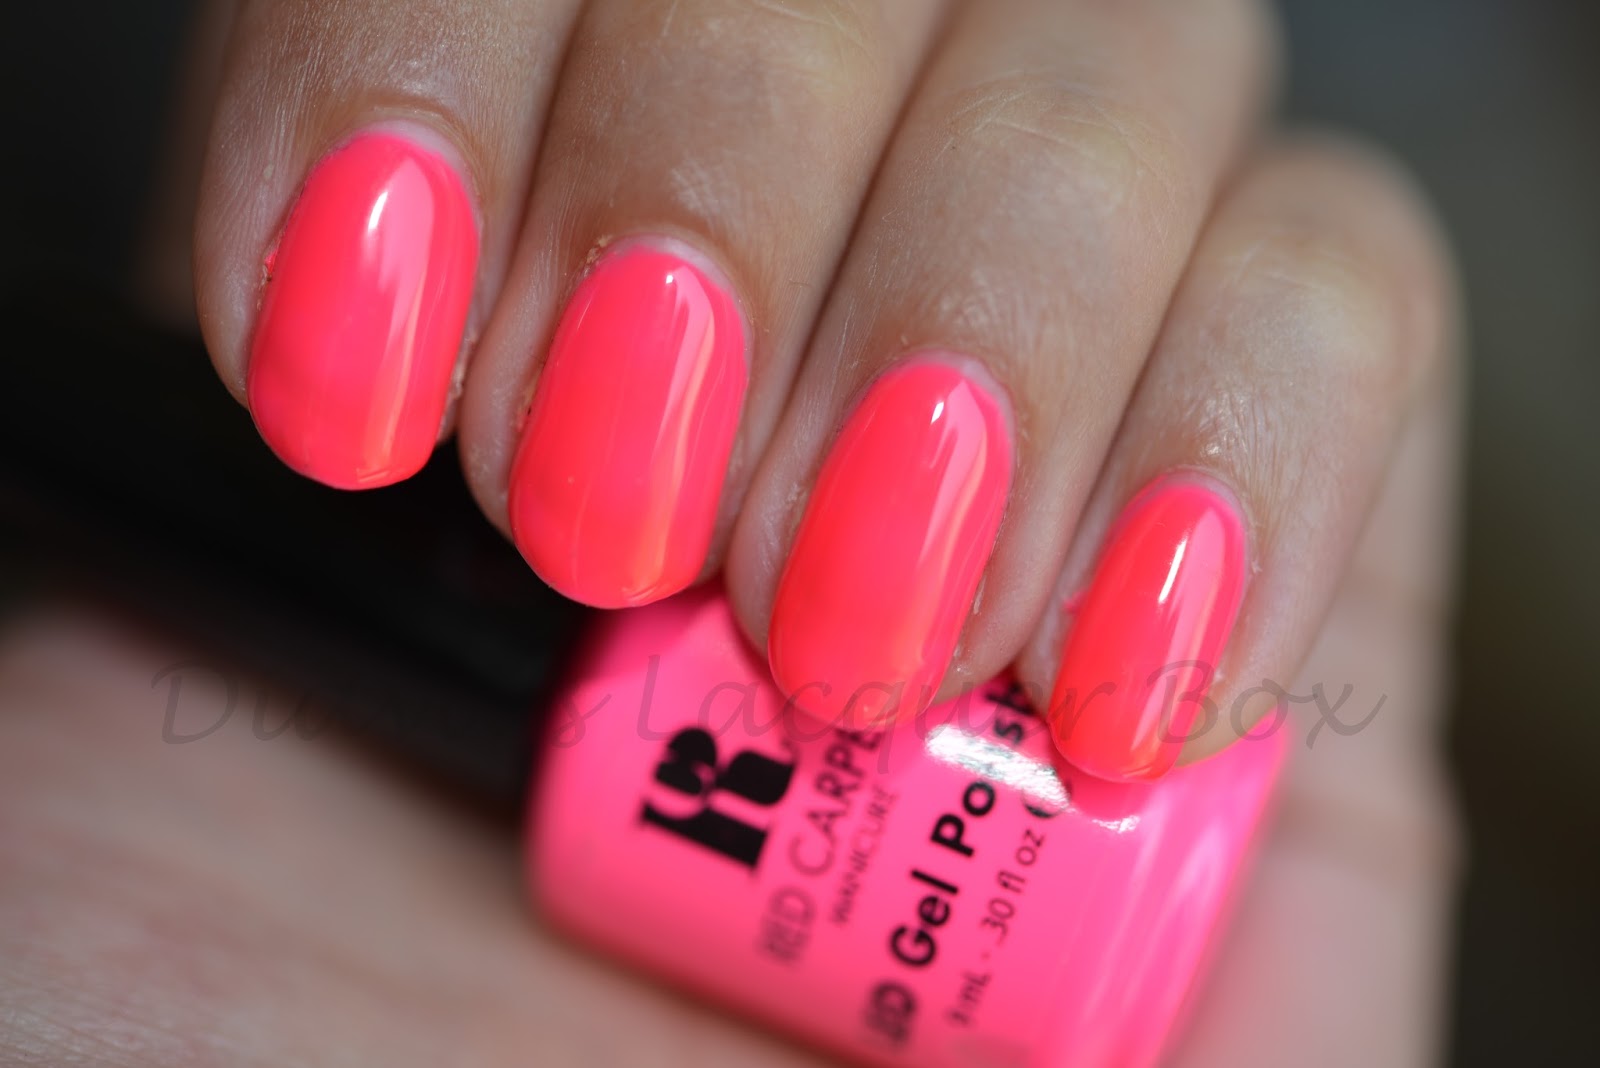
I searched around to find a starter kit at a reasonable price, the best I could find was on QVC uk, and it was an amazing deal. I'll leave the details of the kit for another post, right now I want to get to my first gel manicure, which was a massive success. Along with the kit I popped to Sally's to buy a few more colours. Red Carpet Manicure have a gorgeous Neon Range for summer out at the moment, so I went with Star Power a vibrant Neon pink:
1. file nails to desired shape
2. apply cuticle remover/softener and push back cuticles using a hoof stick or cuticle pusher, use cuticle cutters to snip any edges
3. gently buff the surface of the nail bed removing and shine, I used the buffer stick and pad that came with the kit:

I cant tell you how much I love this tool, it makes buffing the nail bed so much easier, and you don't end up with a buffer thats worn in the middle and still new on the edges, love it!
4. apply the "Purify" (alcohol based) liquid using a lint free pad to all the nails to remove excess oils from nail bed
5. apply "Prep" over the first four nails to dry out the nail bed and prep the nails for the base coat.

6. Apply a very thin (this is really important as thick coats won't cure as well) coat of "Structure" Base Coat to the 4 nails ensuring you wrap the polish over the tip and cure under the UV LED lamp for 45 seconds (it has a timer so switches off automatically which is handy)

7. Apply a very thin coat of colour, in this case Star Power, to the 4 nails wrapping around the tip and cure under the lamp for 45 seconds, repeat up to three times to get full opacity. I did two coats
8. Apply a thin coat of "Brilliance" Top Coat over the 4 nails again ensuring to wrap over the nail tip, and cure for 45 seconds
9. Using a lint free pad apply "Purify" again over each nail, this is to remove the tack residue the nails will have at this stage.
10. Repeat this process with the other hand, and finally your two thumbs and your good to go!
Tips:
When applying the gel make sure you dont touch the cuticle, or the polish will peel off.
The Gel won't dry until you cure it under the light, so you can clean up any gel thats gone on your fingers easily before putting it under the lamp.
Be Patient and use very thin coats
Wrapping each coat is vital or you will get tip shrinkage.
Considering this was the first time I've tried Gel Polish, I was really surprised to find how easy it is to create a gel manicure at home. I absolutely love it. The best thing: there's no sit around and wait to dry time, once you've finished the last step your nails are rock hard and good to go!!
I had no chips at all after 7 days, and that is an absolute first for me, around day 11 I had a minor chip, but by then there was a lot of growth at the cuticle and that's the main reason I took off the manicure. its still going strong on my toe nails after two weeks :D
I had no chips at all after 7 days, and that is an absolute first for me, around day 11 I had a minor chip, but by then there was a lot of growth at the cuticle and that's the main reason I took off the manicure. its still going strong on my toe nails after two weeks :D
The Colour
Star Power is a gorgeous Neon for summer, It's a vibrant pink with some coral undertones, which makes it a lot more wearable than a typical hot pink neon. It's a creme finish so no shimmer, and looks great with a tan. The nails maintained their super glossy finish the whole time I wore the Manicure. Depending on your preference it will take 2-3 coats to get an opaque finish.
Here are a few more photos through the week:


